Introduction
Dealing with an uneven concrete floor can be a real headache, especially when you’re planning to install new flooring. A smooth, level base is essential for a professional finish and long-lasting results. This guide will walk you through the best way to tackle floor leveling in Brisbane. We’ll cover everything from why it’s important to the step-by-step process of fixing those uneven surfaces. With the right techniques and materials, you can create a perfect foundation for any room in your home.
Understanding Concrete Floor Leveling in Brisbane
Concrete floor leveling is the process of creating a flat and even surface from an uneven concrete base. This might involve concrete grinding to remove high spots or applying a compound to fill in depressions. The goal is to prepare the floor for a new covering or simply to make it safer and more functional.
For Brisbane homeowners, understanding this process is the first step toward a successful home improvement project. Whether you’re renovating your living space or finishing a basement, getting the floor right is a crucial step. We’ll now look at why this is so important and what causes these issues in the first place.
Why Leveling Concrete Floors is Important for Brisbane Properties
A level floor does more than just look good; it’s vital for the structural integrity of your property. Uneven floors can be a sign of underlying issues and can lead to problems like cracks in your walls or doors that don’t close properly. Creating a stable surface is the most effective way to level a concrete floor in Brisbane homes, as it prevents these long-term structural concerns.
Beyond the structural benefits, leveling significantly improves the aesthetic appeal of your space. It provides the perfect canvas for your new floor, whether you’re installing tiles, hardwood, or carpet. A flat base ensures your flooring sits correctly, without gaps or bumps, giving you a polished, professional finish that enhances your home’s look.
Ultimately, a level floor is a safer floor. Uneven surfaces are a tripping hazard, especially for children and the elderly. By creating a smooth and stable surface, you make your home safer for everyone. It also makes cleaning easier, as level floors collect less dust and debris in low spots.
Common Causes of Uneven Concrete Floors in Queensland Homes
Have you ever wondered why your concrete floors have become uneven? In Queensland, several factors can contribute to these frustrating uneven surfaces. Understanding the root cause is essential to prevent future problems and avoid common mistakes when leveling your floor.
One of the most frequent culprits is the soil beneath your home. Water runoff from heavy Brisbane rains can erode the soil under the concrete slab, creating voids and causing it to settle unevenly. Similarly, tree roots growing under the foundation can exert pressure, pushing sections of the concrete upward.
These issues can lead to structural damage if not addressed. Here are some common causes:
- Soil Erosion and Settling: Improper drainage can wash away the soil supporting your concrete slab.
- Poor Initial Soil Compaction: If the ground wasn’t compacted correctly before the concrete was poured, it can settle over time.
- Moisture Fluctuations: The soil can expand and contract with changes in moisture, leading to an uneven surface.
- Tree Root Growth: Growing roots can lift and crack the concrete from below.
Assessing If Your Concrete Floor Needs Leveling
Before you start any project, you need to determine if your floor actually needs leveling. An uneven concrete slab can cause a range of issues, from cosmetic flaws to safety hazards. Taking the time to properly assess the situation will help you decide on the best course of action.
A thorough inspection will reveal whether you’re dealing with minor imperfections or more significant problems. By checking for signs of an uneven concrete surface, you can understand the extent of the work required to achieve a perfectly level surface. Let’s explore how to spot these signs and the tools you can use to measure flatness.
Signs and Symptoms of an Uneven Concrete Floor
Identifying an uneven floor often starts with simple observation. Before preparing a concrete floor for leveling, look for visual cues that something isn’t right. You might notice water pooling in certain spots after cleaning, which is a clear indicator of low spots in the concrete.
Another telling sign relates to your existing floor coverings or room features. If you see gaps between your baseboards and the floor, or if doors and windows have started to stick, it could be due to shifts in the foundation caused by an uneven slab. These uneven areas can also cause your furniture to wobble.
Here are a few key signs to watch for:
- Visible cracks, humps, or depressions on the surface.
- Water collecting in specific spots, indicating low areas.
- Gaps appearing between the floor and your walls or baseboards.
- Doors that no longer open or close properly.
Tools and Methods to Check Floor Flatness
Once you’ve spotted the signs, you’ll need the right tools to confirm and measure the unevenness. A simple but effective method is using a long, straightedge tool. Lay it across the floor and look for any gaps between it and the concrete. This will help you identify both high and low spots accurately.
For larger areas, a laser level is an excellent tool. It projects a perfectly straight line across the room, making it easy to see variations in height. This can help you determine if floor grinding is necessary to take down high spots before applying any leveling compound. These tools provide precise measurements, ensuring you know exactly what you’re dealing with.
Here’s a look at some common tools for checking floor flatness:
|
Tool |
How It Works |
|---|---|
|
Spirit Level |
A basic tool that uses a bubble to show if a surface is perfectly horizontal. Good for smaller areas. |
|
Straightedge |
A long, flat bar used to identify gaps and high spots across a wider surface. |
|
Laser Level |
Projects a precise laser beam to detect height variations, ideal for large rooms. |
|
Digital Water Level |
Uses the principle that water finds its own level to accurately measure floor evenness. |
What You Need to Get Started with Concrete Floor Leveling
Embarking on a floor leveling project requires having the right equipment and materials on hand. The process, which may involve concrete grinding and applying compounds, is much smoother when you’re well-prepared. Gathering everything you need before you start will save you time and help you achieve a professional result.
The specific items you’ll require depend on the condition of your floor and the method you choose for the leveling process. Let’s break down the essential tools and materials you’ll need, as well as how to select the right products for the unique Brisbane climate.
Essential Equipment and Materials for Concrete Floor Leveling
To begin the steps involved in leveling a concrete floor, you’ll need a combination of tools for preparation, application, and finishing. A powerful vacuum cleaner is a must-have for removing all dust and debris from the surface, ensuring the leveling compound adheres properly.
For application, you’ll need a mixing bucket, a drill with a mixing paddle, and a trowel or gauge rake to spread the leveling compound evenly. If your floor has high spots, a concrete grinder will be necessary to smooth them down before you apply any new material. Don’t forget safety gear like gloves, glasses, and a dust mask.
Here is a list of essential items:
- Concrete Grinder: To remove high spots and create a smooth base.
- Vacuum Cleaner: For thoroughly cleaning the surface of dust and debris.
- Mixing Bucket and Paddle: To mix the leveling compound to the right consistency.
- Trowel or Spreader: For applying and distributing the leveling compound evenly.
Choosing the Right Floor Leveling Products for Brisbane’s Climate
Given Brisbane’s humid climate, selecting the right leveling compound is crucial for a durable finish. Products with good moisture resistance are recommended to prevent issues down the line, especially in areas from the Gold Coast to the Sunshine Coast. The type of flooring you plan to install, such as hybrid flooring, will also influence your choice.
When considering which floor leveling products are best suited for Brisbane’s climate, look for compounds that offer quick curing times, as high humidity can sometimes slow the drying process. For ground-floor slabs, a product that also provides some thermal insulation can be an added benefit, helping to regulate indoor temperatures.
Here is a comparison of different leveling materials:
|
Material Type |
Best For |
Climate Considerations |
|---|---|---|
|
Self-Leveling Compound |
Correcting minor to moderate unevenness. |
Choose a moisture-resistant formula for Brisbane’s humidity. |
|
Concrete Resurfacer |
Restoring worn surfaces with minor imperfections. |
Provides a durable new layer that withstands temperature changes. |
|
Polyurethane Foam Injection |
Lifting and leveling slabs with significant voids. |
A quick, minimally invasive method suitable for various conditions. |
Step-by-Step Guide to Level a Concrete Floor in Brisbane
Now that you’re prepared, it’s time to start the leveling process. Following a clear, step-by-step approach is the key to achieving a perfectly level concrete floor. This ensures a solid foundation for the proper installation of various flooring materials, from tiles to timber.
Each stage, from preparation to final curing, plays a vital role in the success of your project. We’ll guide you through preparing the surface, applying the leveling materials, and finishing the job for a smooth and durable result.
Step 1: Prepare the Floor Surface for Leveling
The first and most critical step is preparing the concrete surface. This is how you prepare a concrete floor before leveling in Brisbane for optimal results. Start by removing any old flooring, adhesives, or debris. The surface must be completely clean for the leveling compound to bond effectively.
Next, thoroughly vacuum the entire area to remove all dust and loose particles. Dust control is essential throughout this process. Inspect the concrete surface for any cracks or holes and fill them with a suitable concrete repair compound. Allow these repairs to cure completely before moving on.
Before you apply any primer or compound, make sure the floor is ready by following these steps:
- Remove all old flooring, dirt, oil, and grease.
- Repair any cracks or significant imperfections with a patching compound.
- Thoroughly clean and vacuum the surface to eliminate dust.
- Apply a suitable primer to the concrete to enhance adhesion.
Step 2: Grinding, Filling, and Using Self-Leveling Compounds
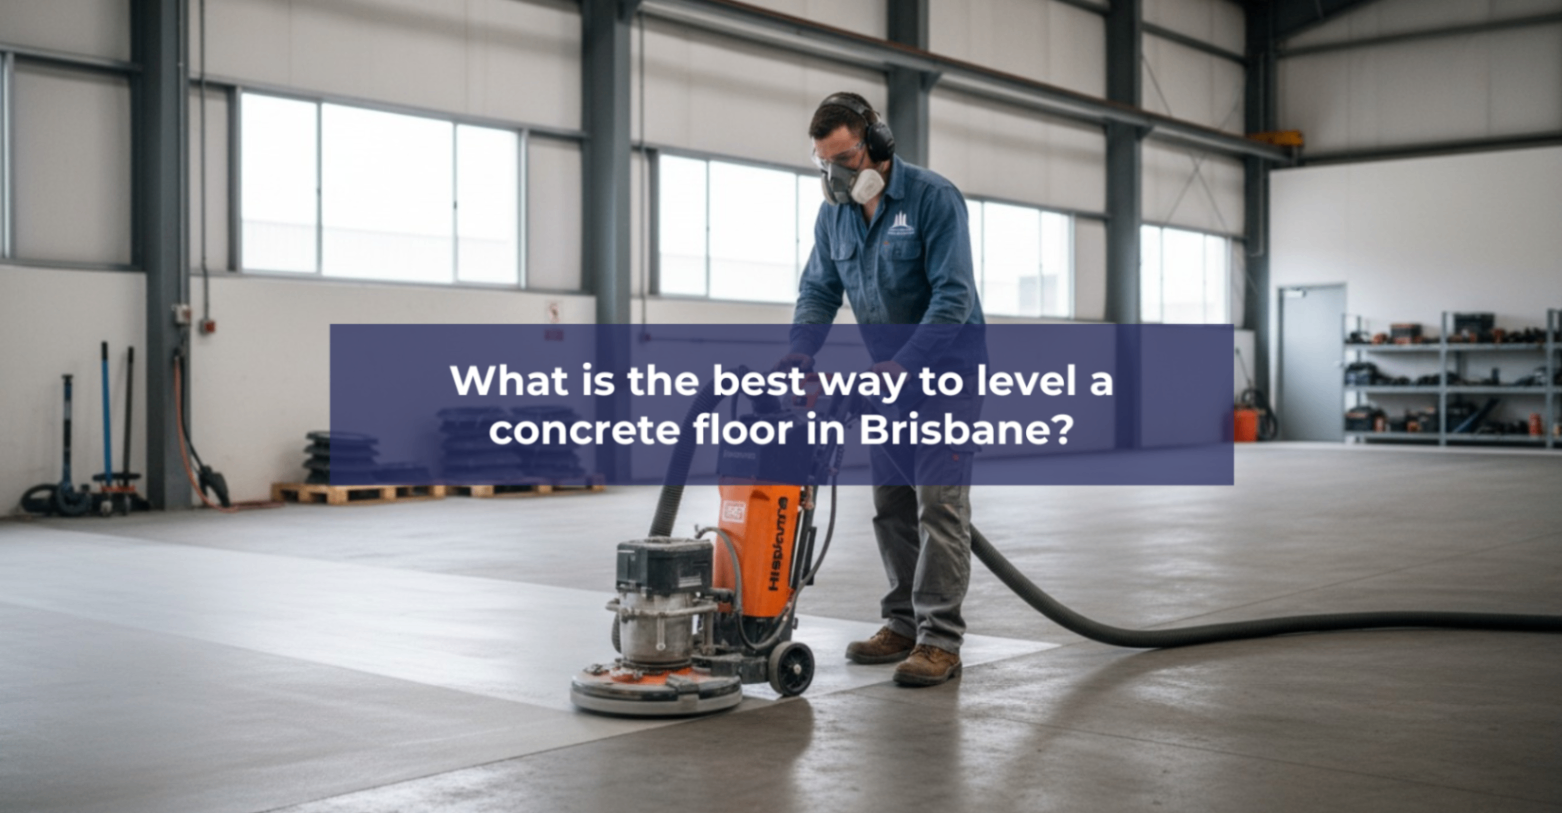
After preparing the surface, the next step is to address the high and low spots. Concrete grinding is often necessary to shave down any noticeable high areas. Using a concrete grinder on these sections helps create a more uniform base before you add any material, ensuring a truly flat surface.
Once the high spots are gone, it’s time to fill the low areas. This is where a self-leveling compound comes in. Mix the compound according to the manufacturer’s instructions until it’s smooth and lump-free. Pour it onto the floor, starting at the lowest point, and use a trowel to help spread it evenly.
Follow these key actions for a level result:
- Use a straightedge to identify high spots on the floor.
- Grind down these areas with a concrete grinder for a flat base.
- Mix a self-leveling compound and pour it into the low areas.
- Spread the compound evenly to create a seamless, level surface.
Step 3: Curing and Finishing the Leveled Floor
After you’ve applied the leveling compound, patience is key. The compound needs time to cure properly to achieve maximum strength and durability. How long does it take to level a concrete floor in Brisbane homes? While the compound may be dry to the touch in a few hours, the full compound cure can take longer.
It’s generally recommended to wait at least 24-48 hours before walking on the surface. For installing non-waterproof flooring like timber or carpet, it’s best to wait up to 7 days to ensure all moisture has evaporated. Rushing this step can compromise the bond and lead to issues later.
Once fully cured, you’ll have a smooth finish ready for your chosen floor covering. This durable finish provides a stable and long-lasting foundation for your new flooring, ensuring it looks great and performs well for years to come. In some cases, you may want to seal the leveled concrete to protect it from moisture and stains.
Common Mistakes to Avoid When Leveling Concrete Floors in Brisbane
Even with the best intentions, it’s easy to make mistakes during a floor leveling project. These errors can lead to an uneven finish, adhesion problems, and the need for costly further work. Knowing what to watch out for can save you a lot of time and frustration.
From improper surface prep to mixing the compound incorrectly, small missteps can have big consequences. Let’s look at how you can ensure your project is a success, whether you’re doing it yourself or hiring a professional.
How to Ensure a Successful DIY or Professional Floor Leveling Project
One of the biggest questions is: can I level a concrete floor myself, or should I hire experts in Brisbane? A DIY approach can work for small, straightforward jobs if you follow the manufacturer’s instructions carefully. However, for larger areas or significant unevenness, professionals with years of experience offer peace of mind.
To ensure success, never skip the prep work. A clean, primed surface is essential for the proper installation of various flooring materials. Another common mistake is adding too much water to the mix, which can weaken the compound. Always follow the recommended water-to-mix ratio.
Here are some tips for a successful project:
- Don’t Skip Surface Prep: Always clean, repair, and prime the floor.
- Use the Right Material: Choose a leveling compound suitable for your project and climate.
- Follow Instructions: Adhere to the manufacturer’s instructions for mixing and application.
- Consider Professional Help: For complex jobs, a free consultation with an expert can help you decide the best approach.
Conclusion
In conclusion, leveling a concrete floor in Brisbane is not just about aesthetics; it’s about enhancing the safety and functionality of your living spaces. By understanding the common causes of uneven floors and recognizing the signs that indicate the need for leveling, you can take informed steps to address the issue. With the right tools, materials, and methods tailored to Brisbane’s climate, you can ensure a successful leveling project. Whether you choose to tackle it as a DIY project or hire professionals, avoiding common mistakes will help you achieve a smooth, even surface that will last for years. If you’re ready to get started, reach out for a free consultation and let our experts guide you through the process!